|
draw ‘til you’re soreWelcome to the bog of Jessica Amber. Herein you’ll find my life, whatever Irandom stuff ’m getting up to. It’s usually creative.
Unmaintained since 2019. Please go to www.jessicaamber.com.au This site contains affiliate links.
|
|
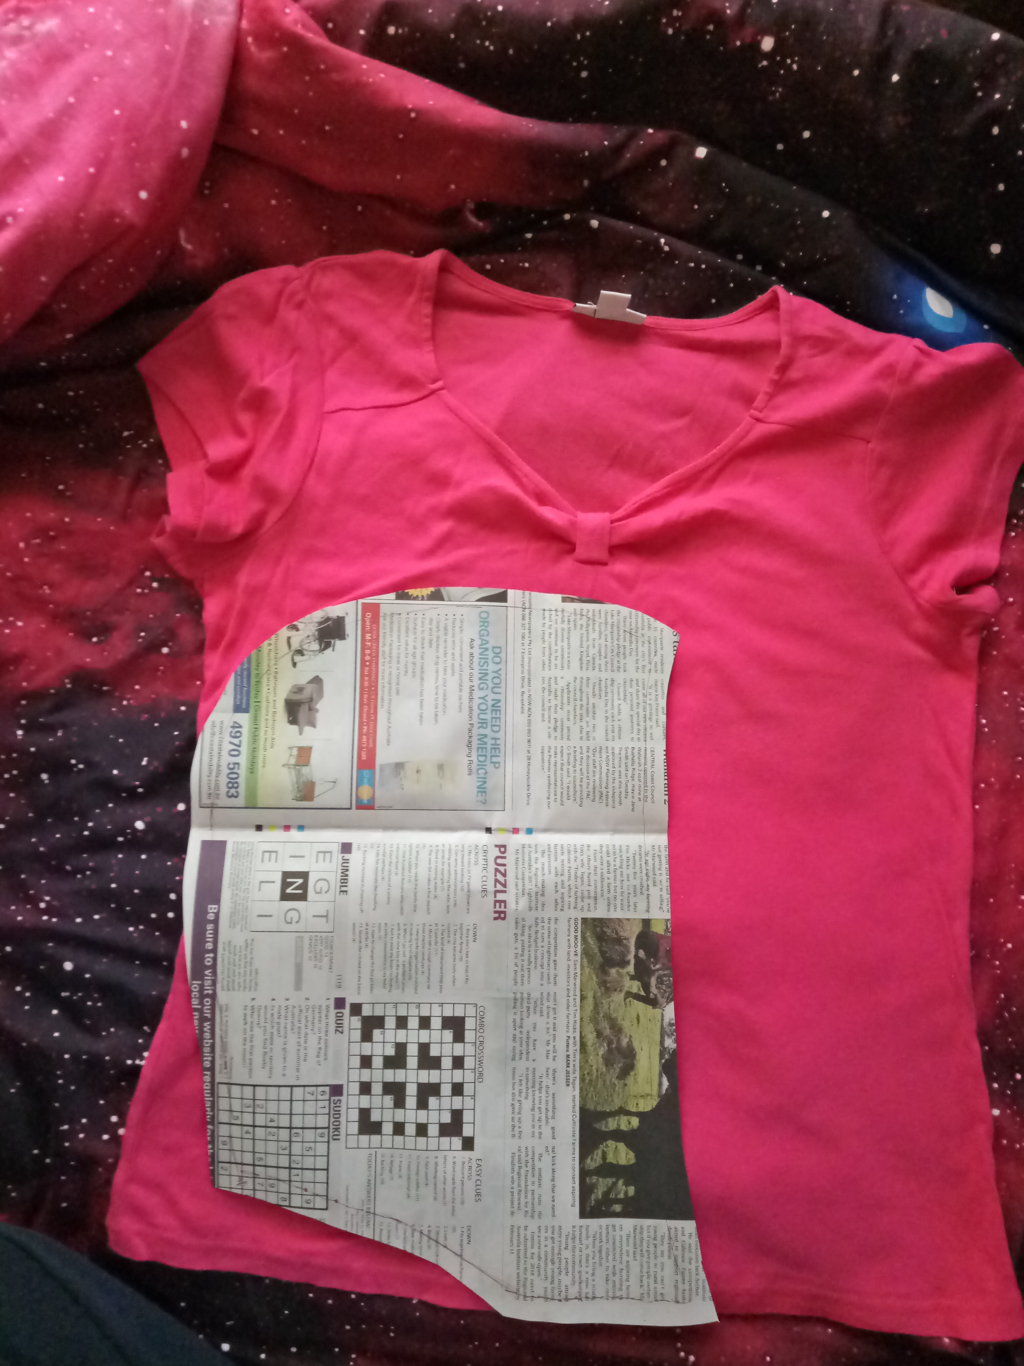
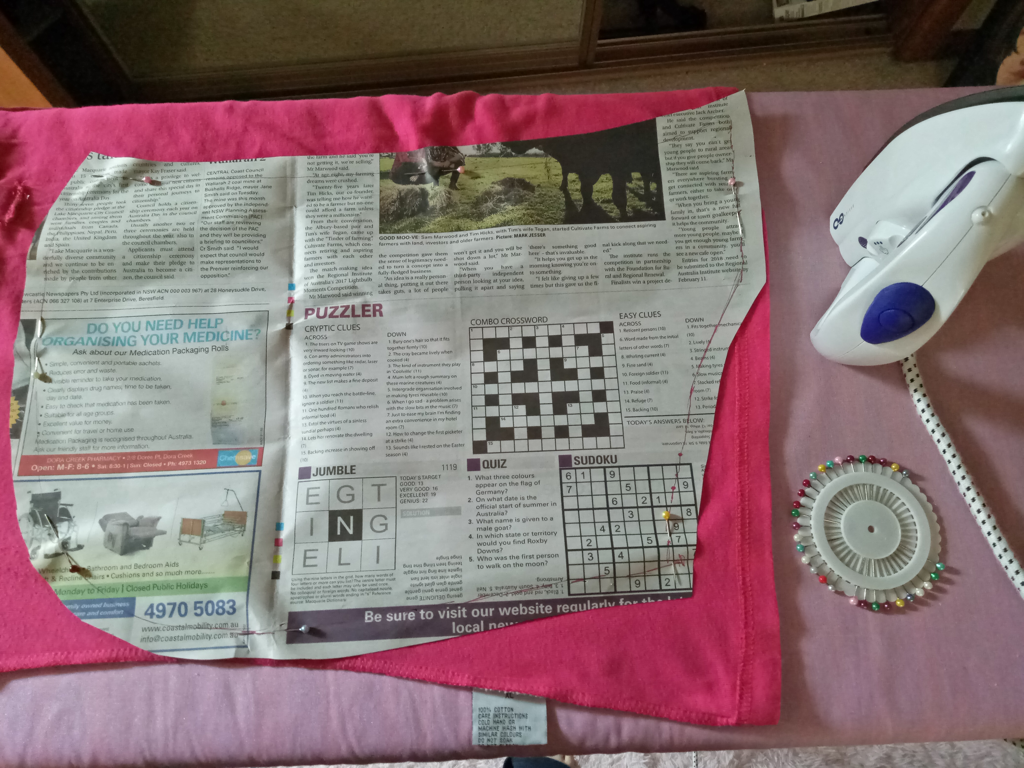
There’s been a pile of sewing projects sitting on the study door for months. It wasn’t my job to handle that stuff, but since my aggressive sewing rampage yesterday - sewing underwires into a one-piece swimsuit - I thought I’d try and knock them out quickly. All three were for my sister. Two hemmed sleeves and two secured buttons later, I was ready to start something for moi. Working on my Sombra cosplay for Supanova 2018. I’ll be making her Los Muertos outfit, a mix of punk, rave, and Mexican Day of the Dead aesthetics. 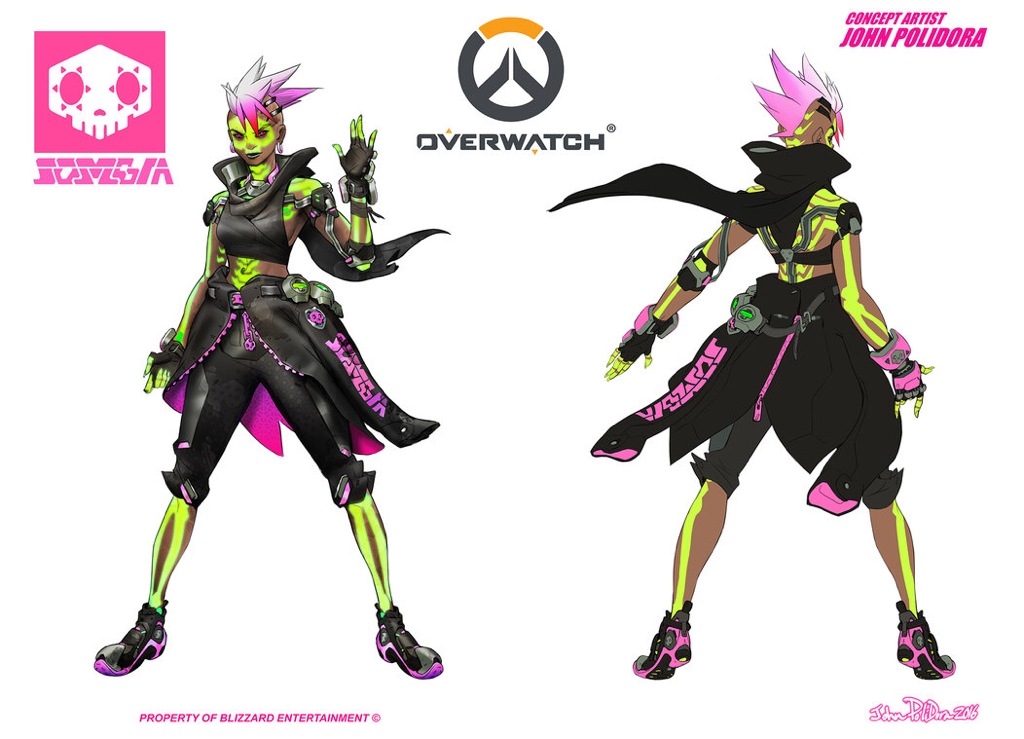 The piece I was working on today is her hoodie, which is worn like a skirt. I purchased a cute black hoodie from T.J.Maxx a couple of weeks ago for $13 AUD (and then, ten minutes later, I bought another one because I wanted one unmodified one for my regular wardrobe :) ). This will be the base for my work. 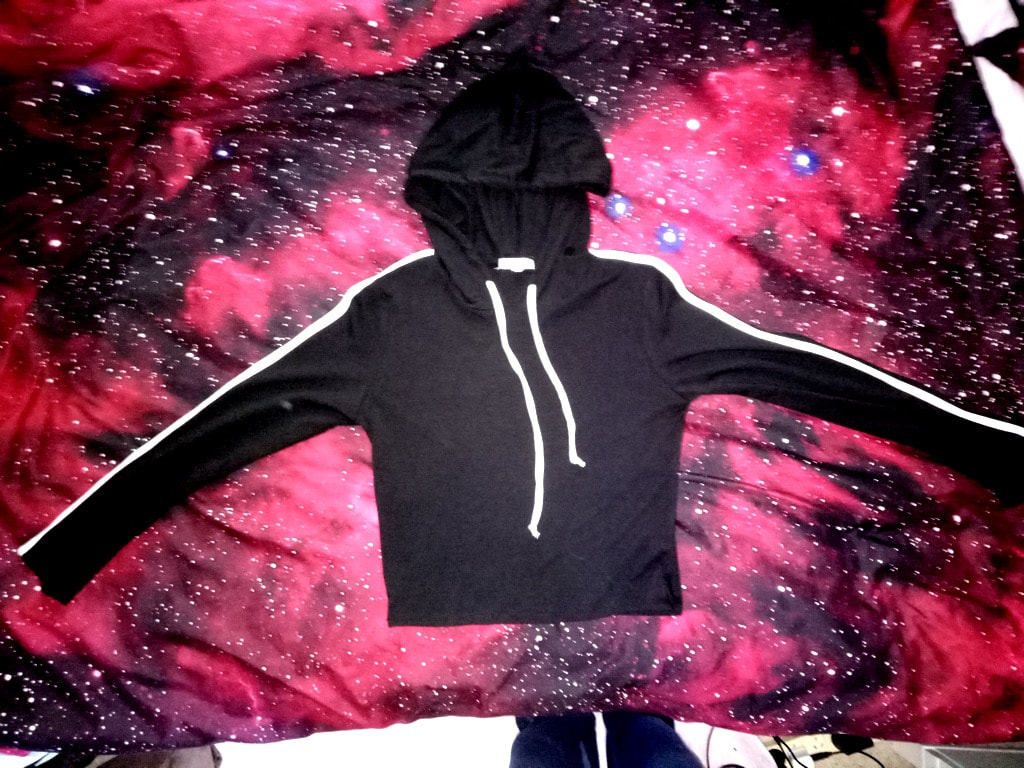 The first thing I wanted to do to this hoodie was insert a zipper. Sombra’s jacket has a very chunky pink zipper. Initially I wanted to get a ridiculously chunky zipper, like with a puller the size my fist. There was an Etsy store that made such things called GIANTzippers, but they are closed for now. And they are US based, so postage to Australia would’ve murdered me. 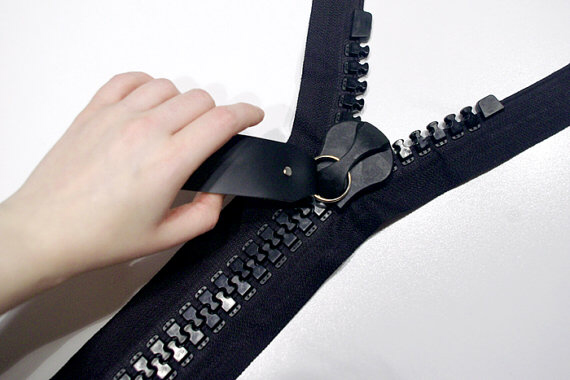 For some reason a giant zipper just seems right. With my enormous zipper hopes dashed, I had to settle for something smaller. A normal chunky zipper. Fine. Time to look at my zipper collection! 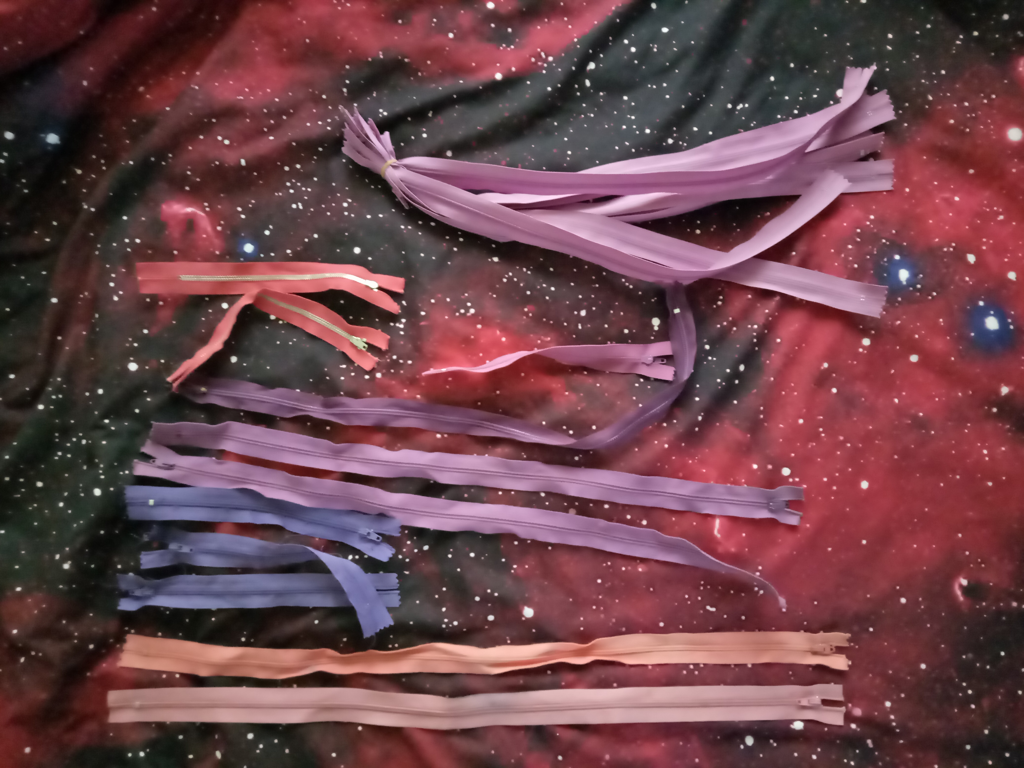 And... everything was too big or too small. I needed 42.4cm to perfectly fit my hoodie. And I wasn’t finding that within my purple or pink zippers. eBay to the rescue! 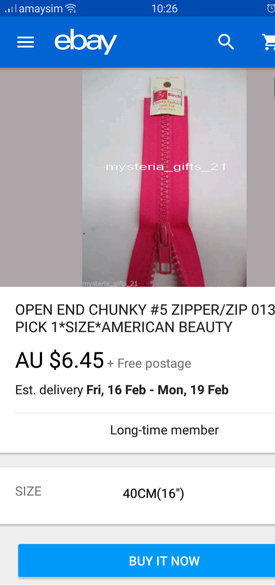 I made a little purchase. Six bucks for a zipper was not exactly my perfect comfort zone, but I wasn’t going to settle in this case. Now I had to wait for postage, what else was there that I could do for this creation? Well, a week ago, I purchased two pink shirts to re-purpose into lining for the hoodie. 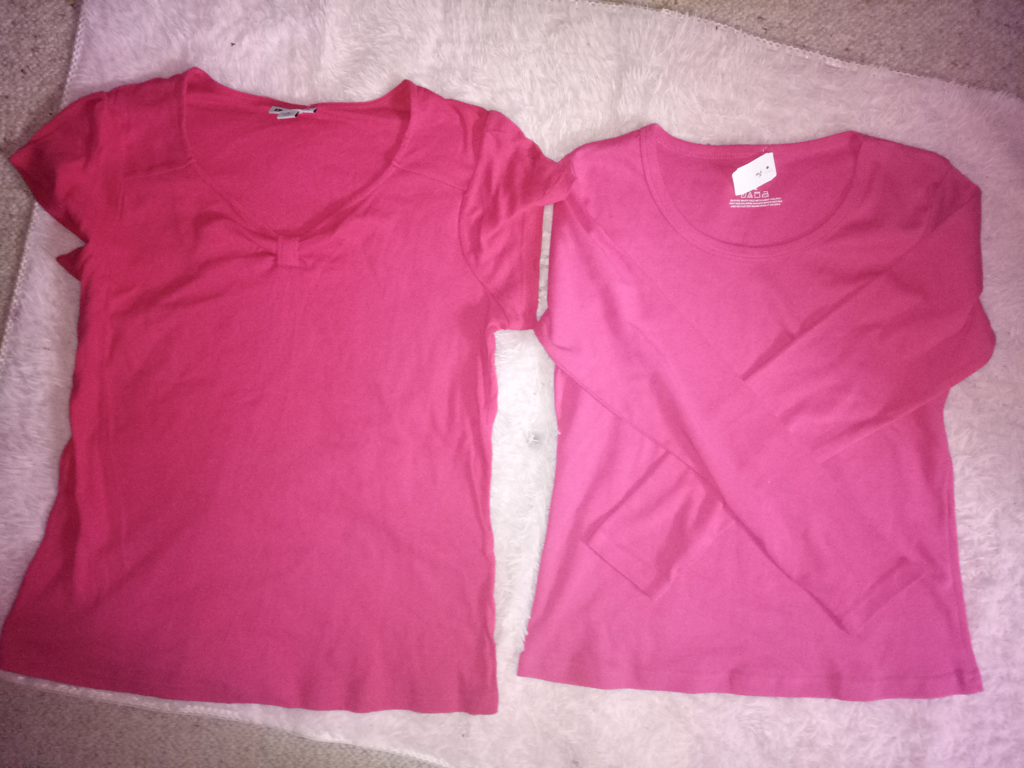 The short sleeve one will be used to line the hood. And I took photos of the process just in case you too need to line a hood. First, I laid the hood out flat to get a sense of its shape. 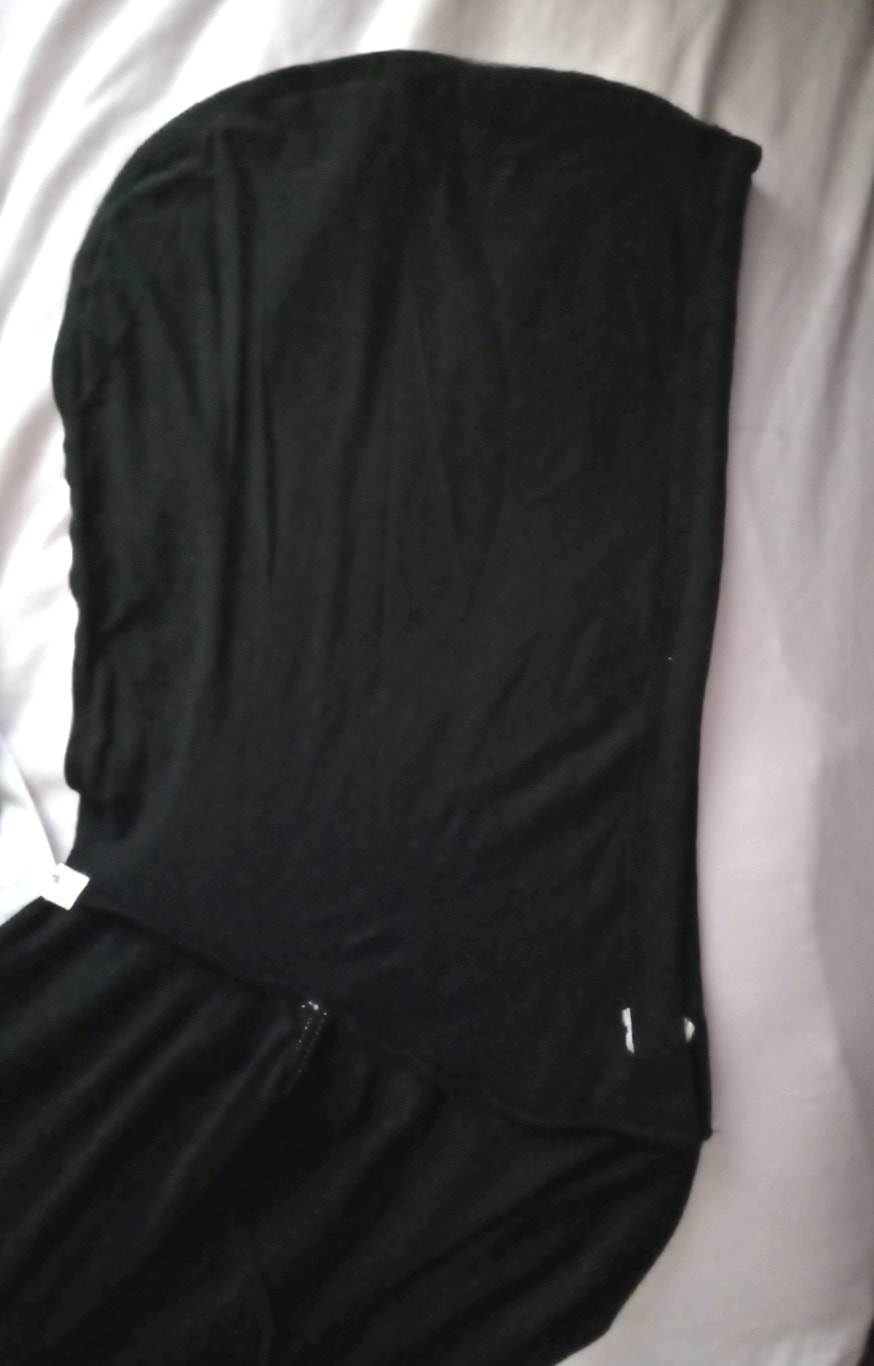 It’s like a rounded rectangle. Neat. Next, I placed the hood over the shirt to make sure I’d have enough fabric. Which I did. Then, I got some newspaper and used it to cut a pattern of the hoodie, leaving about 1.5cm of seam allowance. 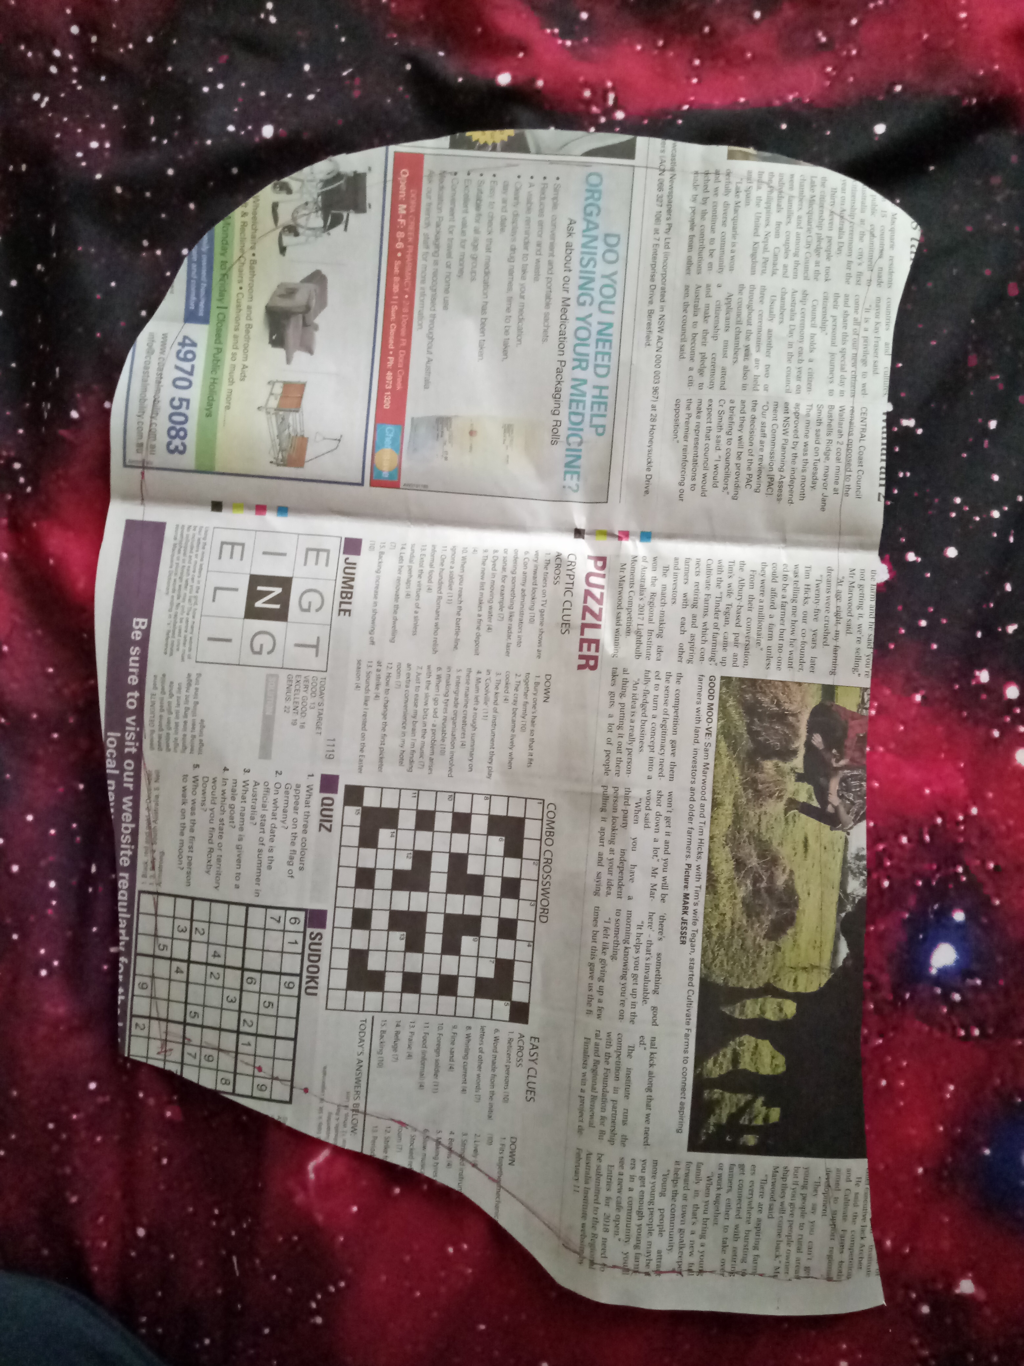 Then I ironed the pink shirt, because I knew the wrinkles would make the cut pattern uneven. The pattern was then laid on the shirt. I made use of the bottom hem of the shirt to be part of my hem. And I made the rear of the hood (where the back of your head would be) touch the side seam of the shirt, as these parts will need to be joined anyway.
I pinned the pattern down, then cut it out. 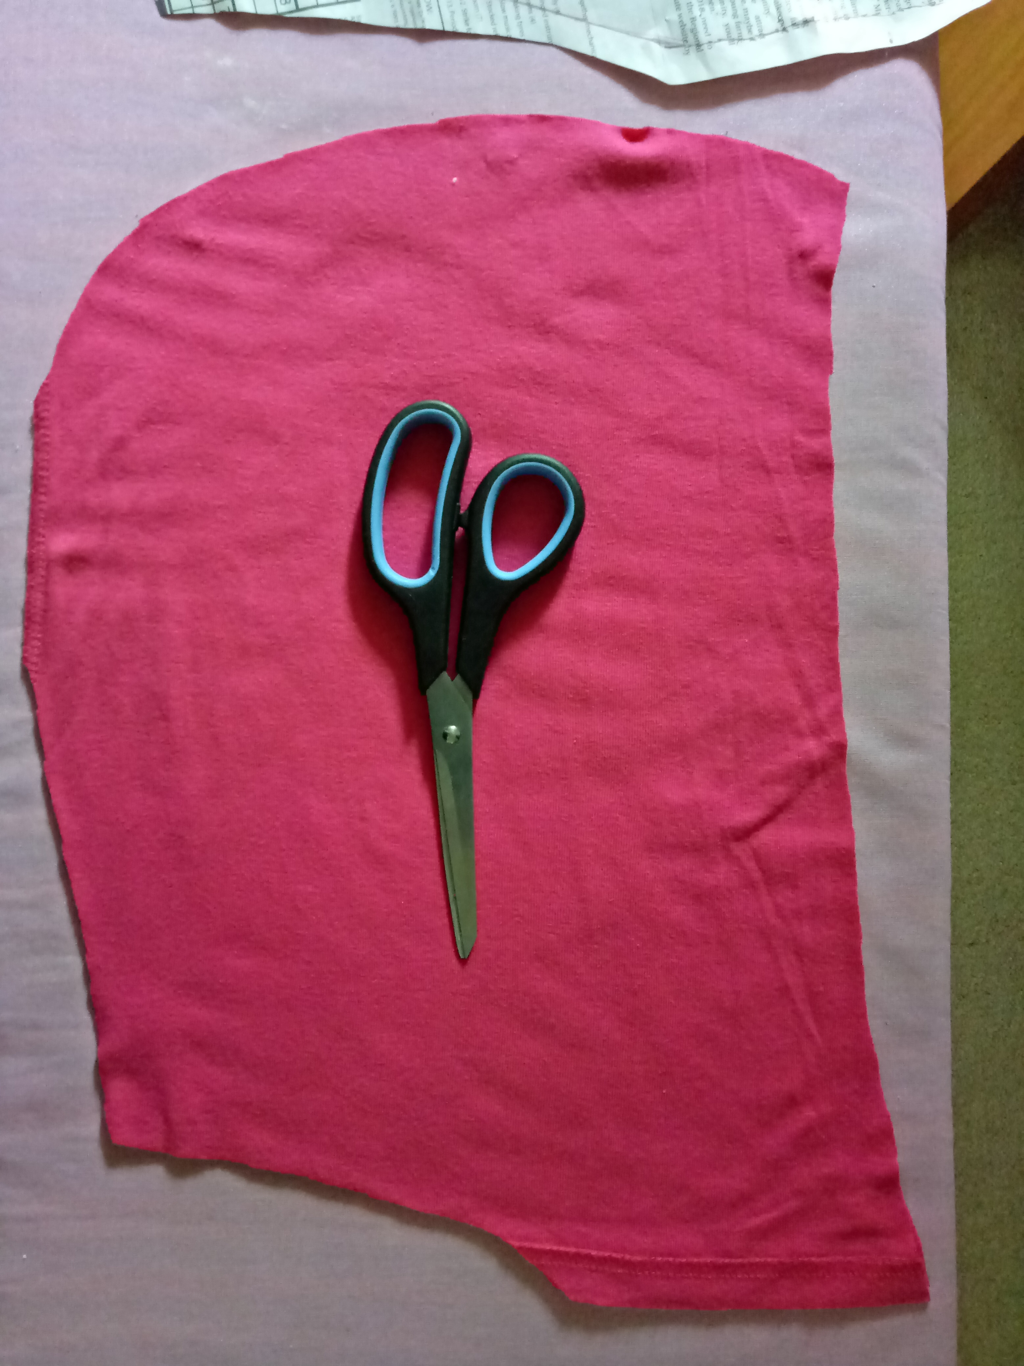 More pilling followed. I opened up the fabric and folded hems on the long edge, the part that will be the face opening. 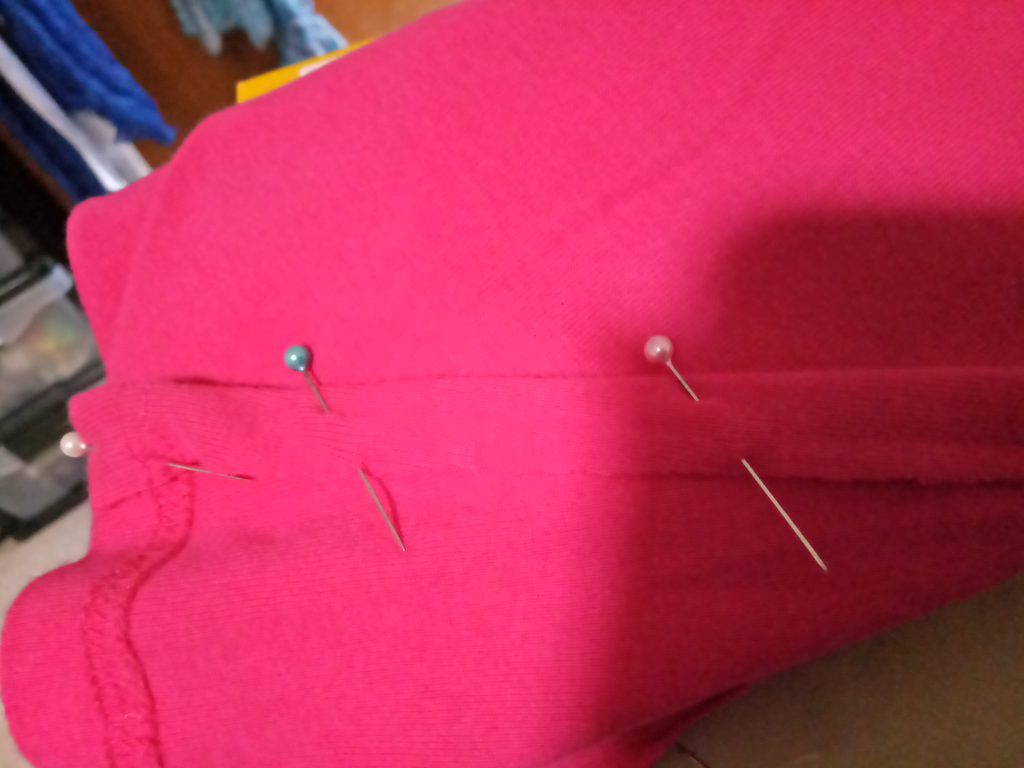 I sewed these with a 2 long 2 wide zigzag, as it is a stretch material.
Afterwards, I folded and sewed the hems of the parts that will attach to the neck. I’ll be continuing this tomorrow, so until then! -Jess xx
0 Comments
Leave a Reply. |
AuthorI'm just some Aussie 20-something year old with a lot of time and a lot of interests. Archives
July 2019
CategoriesAll Art Art Freelancing Business Cosplay Food Law Of Attraction Makeup Organizing Sewing Shopping TAFE Technology Web |
 RSS Feed
